Why did you make this cursed rectangle?
It’s a pretty iconic vignette of 21st century living: you’re checking out of the grocery store, and the cashier lines are long. You glance down the row of checkout stands, and the unoccupied self-checkout kiosk beckons from across the store, willing you to try it out just one more time. You have second thoughts, but are quickly entranced by the circa 2003 3D animations and a strip of paper that billows from that secondary receipt printer whose sole purpose is to print expired coupons for discount plumbing services.
You scan your first item, and then your second item. All seems well, but then the dance begins.
Beep.
Place item in the bagging area.
You gently place your dozen eggs in on the bagging tray.
Unexpected item in the bagging area. Please remove the item before continuing.
You remove the eggs.
Please place item in the bagging area.
Hesitantly, you place the eggs in the bagging tray.
Unexpected item in the bagging area. Please remove the item before continuing.
Two minutes and thirty seconds later, you notice the coupon hunter who was behind you in line at the cashier’s stand leaving the store with her two dozen gallons of milk that she got paid $5.23 to take home.
Unexpected item in the bagging area. Please remove the item before continuing.
Someone is trying to help you now. It looks like they maybe they work here.
Please remove the item before continuing.
You’re in the parking lot now. You have no eggs. They were terribly sorry, but there was simply nothing they could do. Helpfully, your car is filled with milk and you have five copies of the same coupon to AJ’s Plumbing n’ Animal Control Inc, valid till last February.
Ok, that wasn’t helpful at all. Fine. HOW did you make this cursed rectangle?
Oh, sure! Here’s the parts list:
- 1x Epson TM-T88V USB Thermal Receipt Printer (used)
- 1x Raspberry Pi 3B+
- 1x 7in Touchscreen + 3D printed case
- 1x USB Barcode Scanner
- 1x Anker Soundcore Bluetooth Speaker
- 1x 3-level LED Stack Light
- 1x 80W DC-DC Converter (12V 3A)
- 1x 15W DC-DC Converter (5V 3A)
- 1x Automotive Fuse + Fuse Holder (this was actually a REALLY good idea, because of the next thing)
- 1x 4S 4000mAh Lipo Battery
- 1 sheet of Plexiglass from Home Depot
- Some one-way mirror window film (also from Home Depot)
- Buncha 3D printed parts*
- Buncha Coroplast + 3/16in Aluminum Pop Rivets*
*Buncha refers to the metric Buncha (not to be confused with the standard Bumcha which was deprecated in 1993)
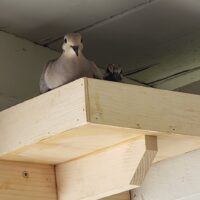
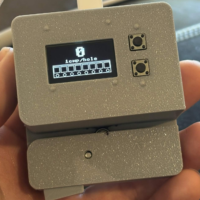
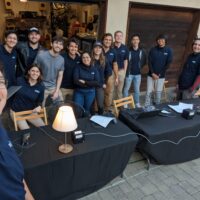
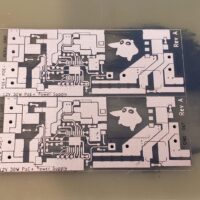
Look! Pictures!

We are weird nerds or something and we want to know more! Tell us!
Ok!
First, the simple mechanical and electrical stuff.
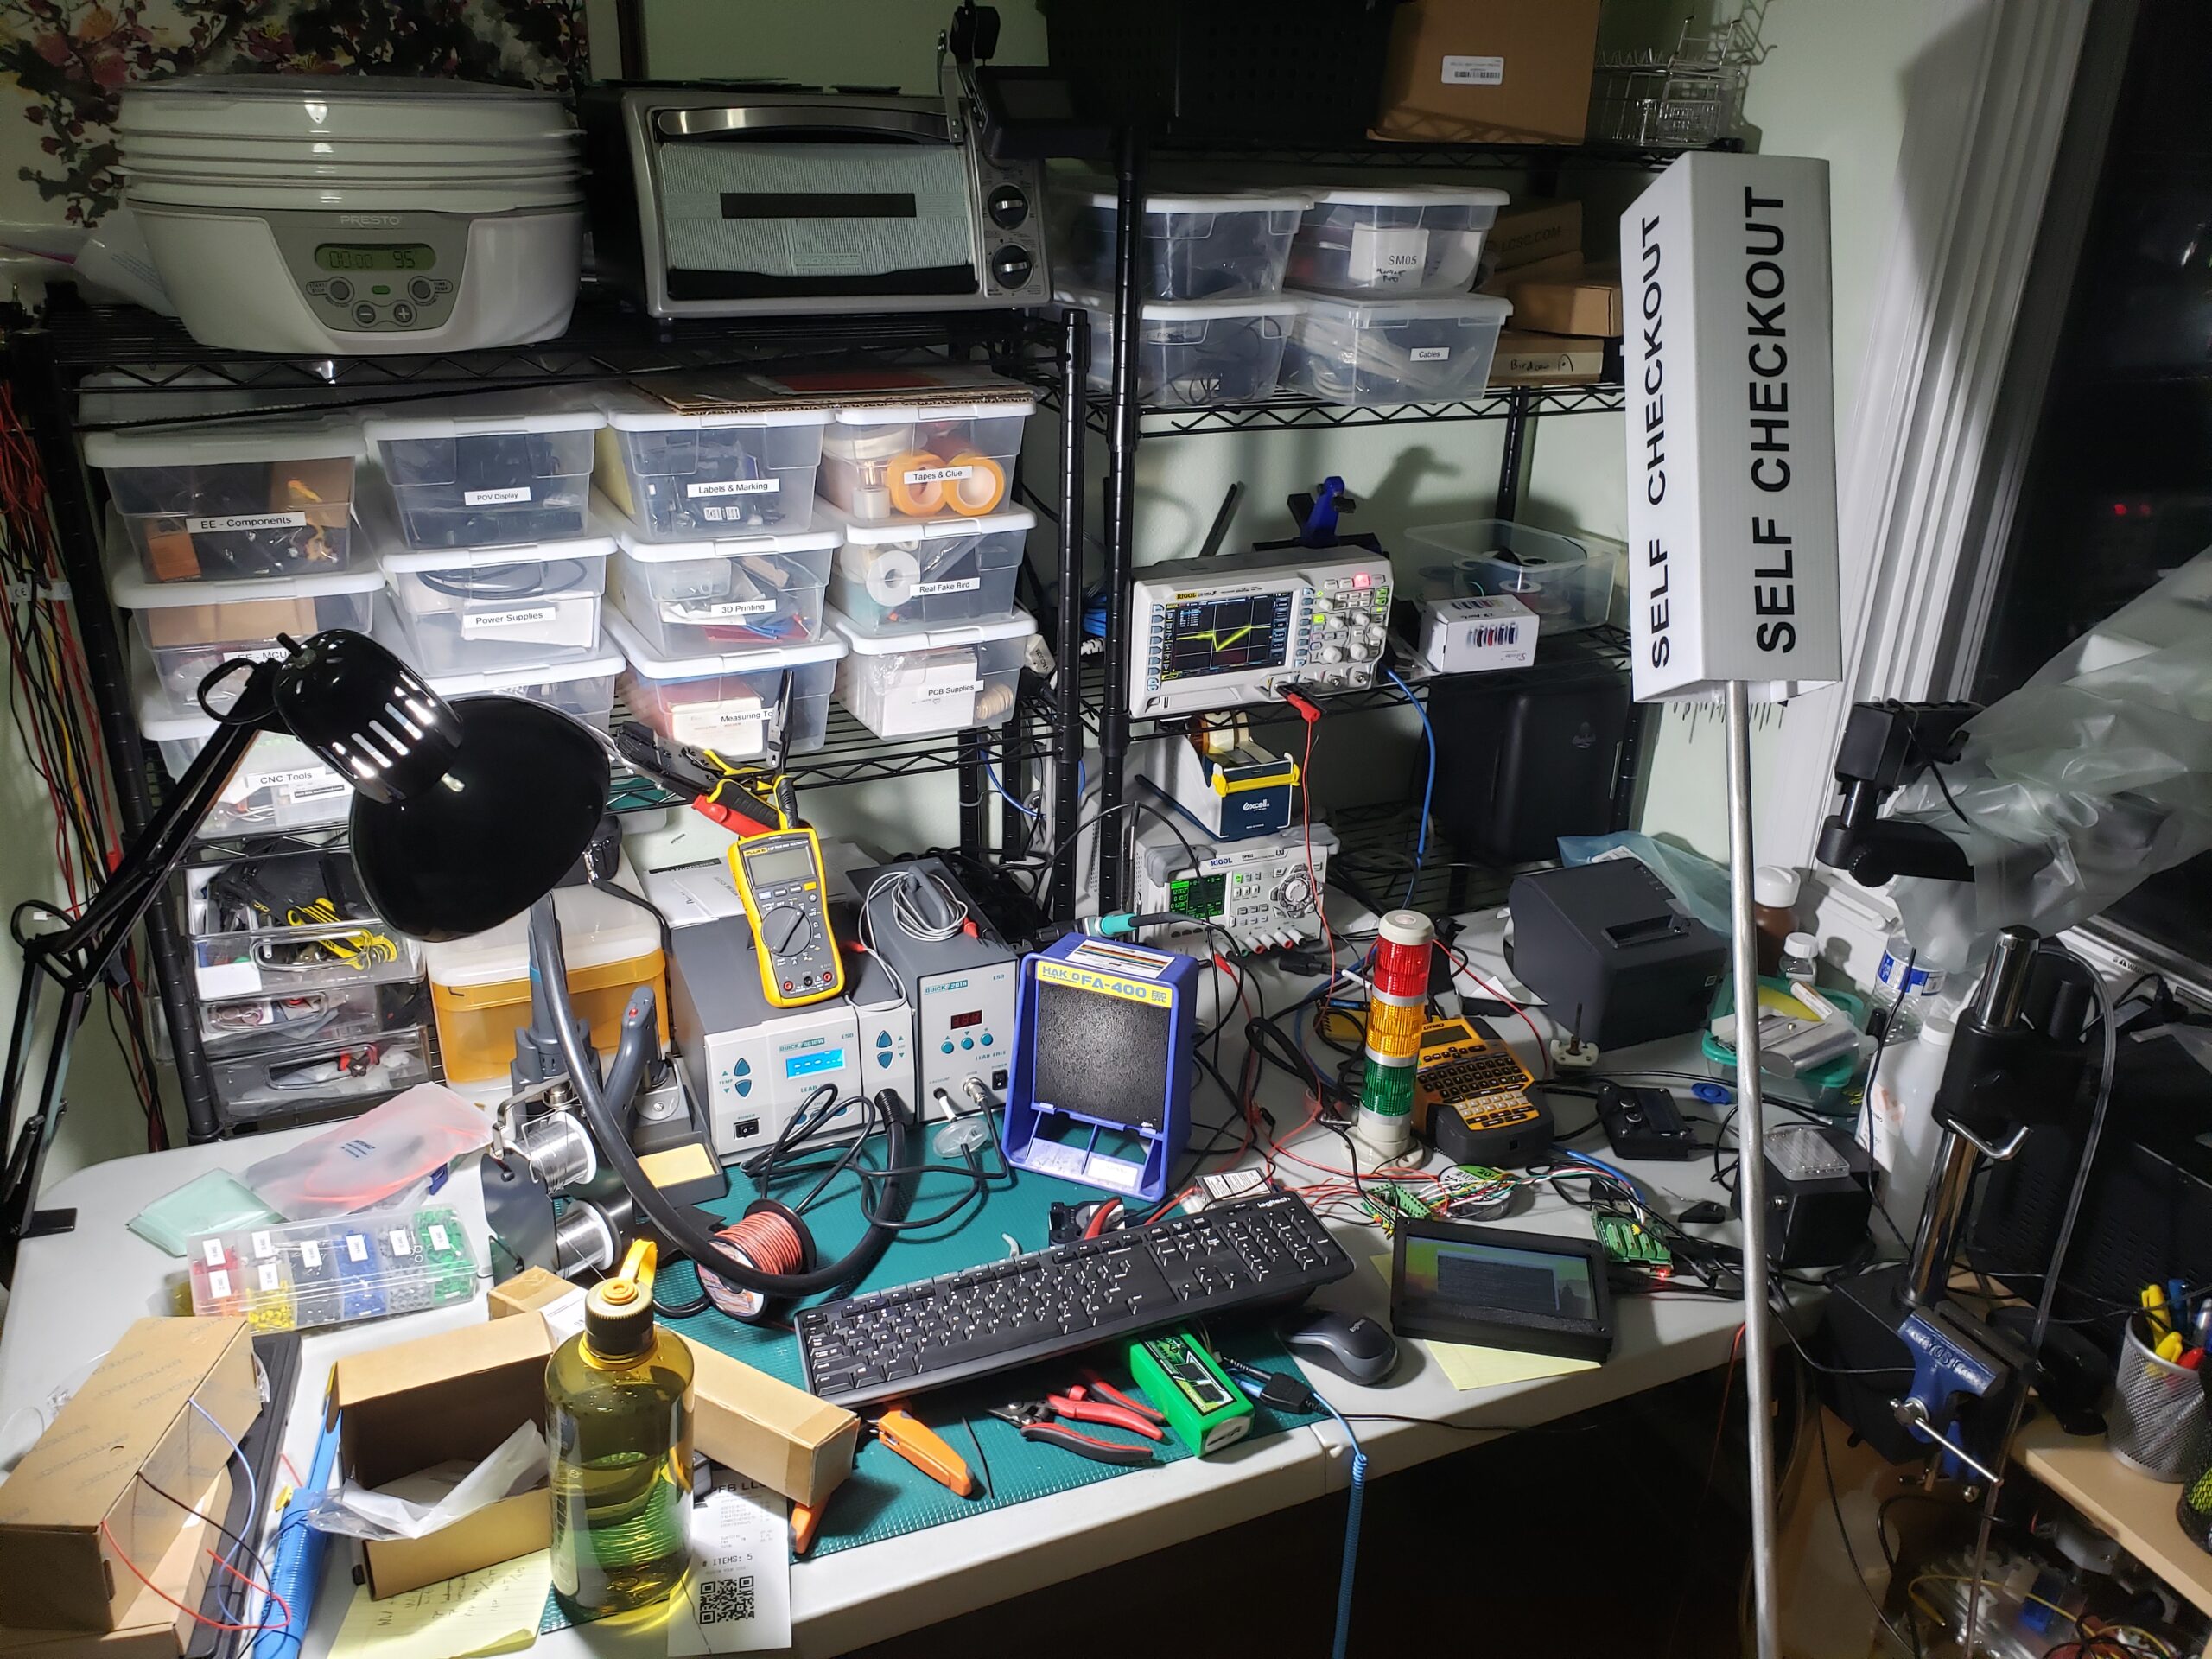
The entire machine runs on a 3S 4000mAh battery from some quadcopter builds I did a while back. This battery feeds into a fuse (important, I debated putting this in at all and it totally saved the whole costume from catching fire when a circuit board came unglued and shorted out the main power distribution board), and then into a power distribution board and a 40W DC-DC converter. The DC-DC converter is used to power a 12V rail that runs the stack lights, the receipt printer, and a smaller 5V DC-DC converter that runs the Raspberry Pi and USB peripherals. The stack lights are switched using a low-side drive circuit I put together using some 2N7000 small-signal MOSFETs. I had to buy an extra power supply brick for the receipt printer just so that I could cut the plug off of it, since the fine folks at Epson like their strange proprietary DC jack shapes.
The Raspberry Pi is interfaced with the 7in touchscreen over HDMI and USB, and the Anker Soundcore speaker is powered by its internal battery, and is connected to the Raspberry Pi using an aux cord. Interestingly (annoyingly), the speaker is “smart” and will stop listening to the signal on the aux cord and shut down if no sound is being transmitted. When a sound byte is sent to the speaker after some silence, it takes some time to “wake up” and can often clip the first half-second or so of the sound byte. This is very annoying if the speaker is being used for sound effects or voice lines! I managed to get around this issue by continuously playing a looping track of very, very quiet white noise from the Raspberry Pi, just loudly enough that the speaker would always stay “awake”.
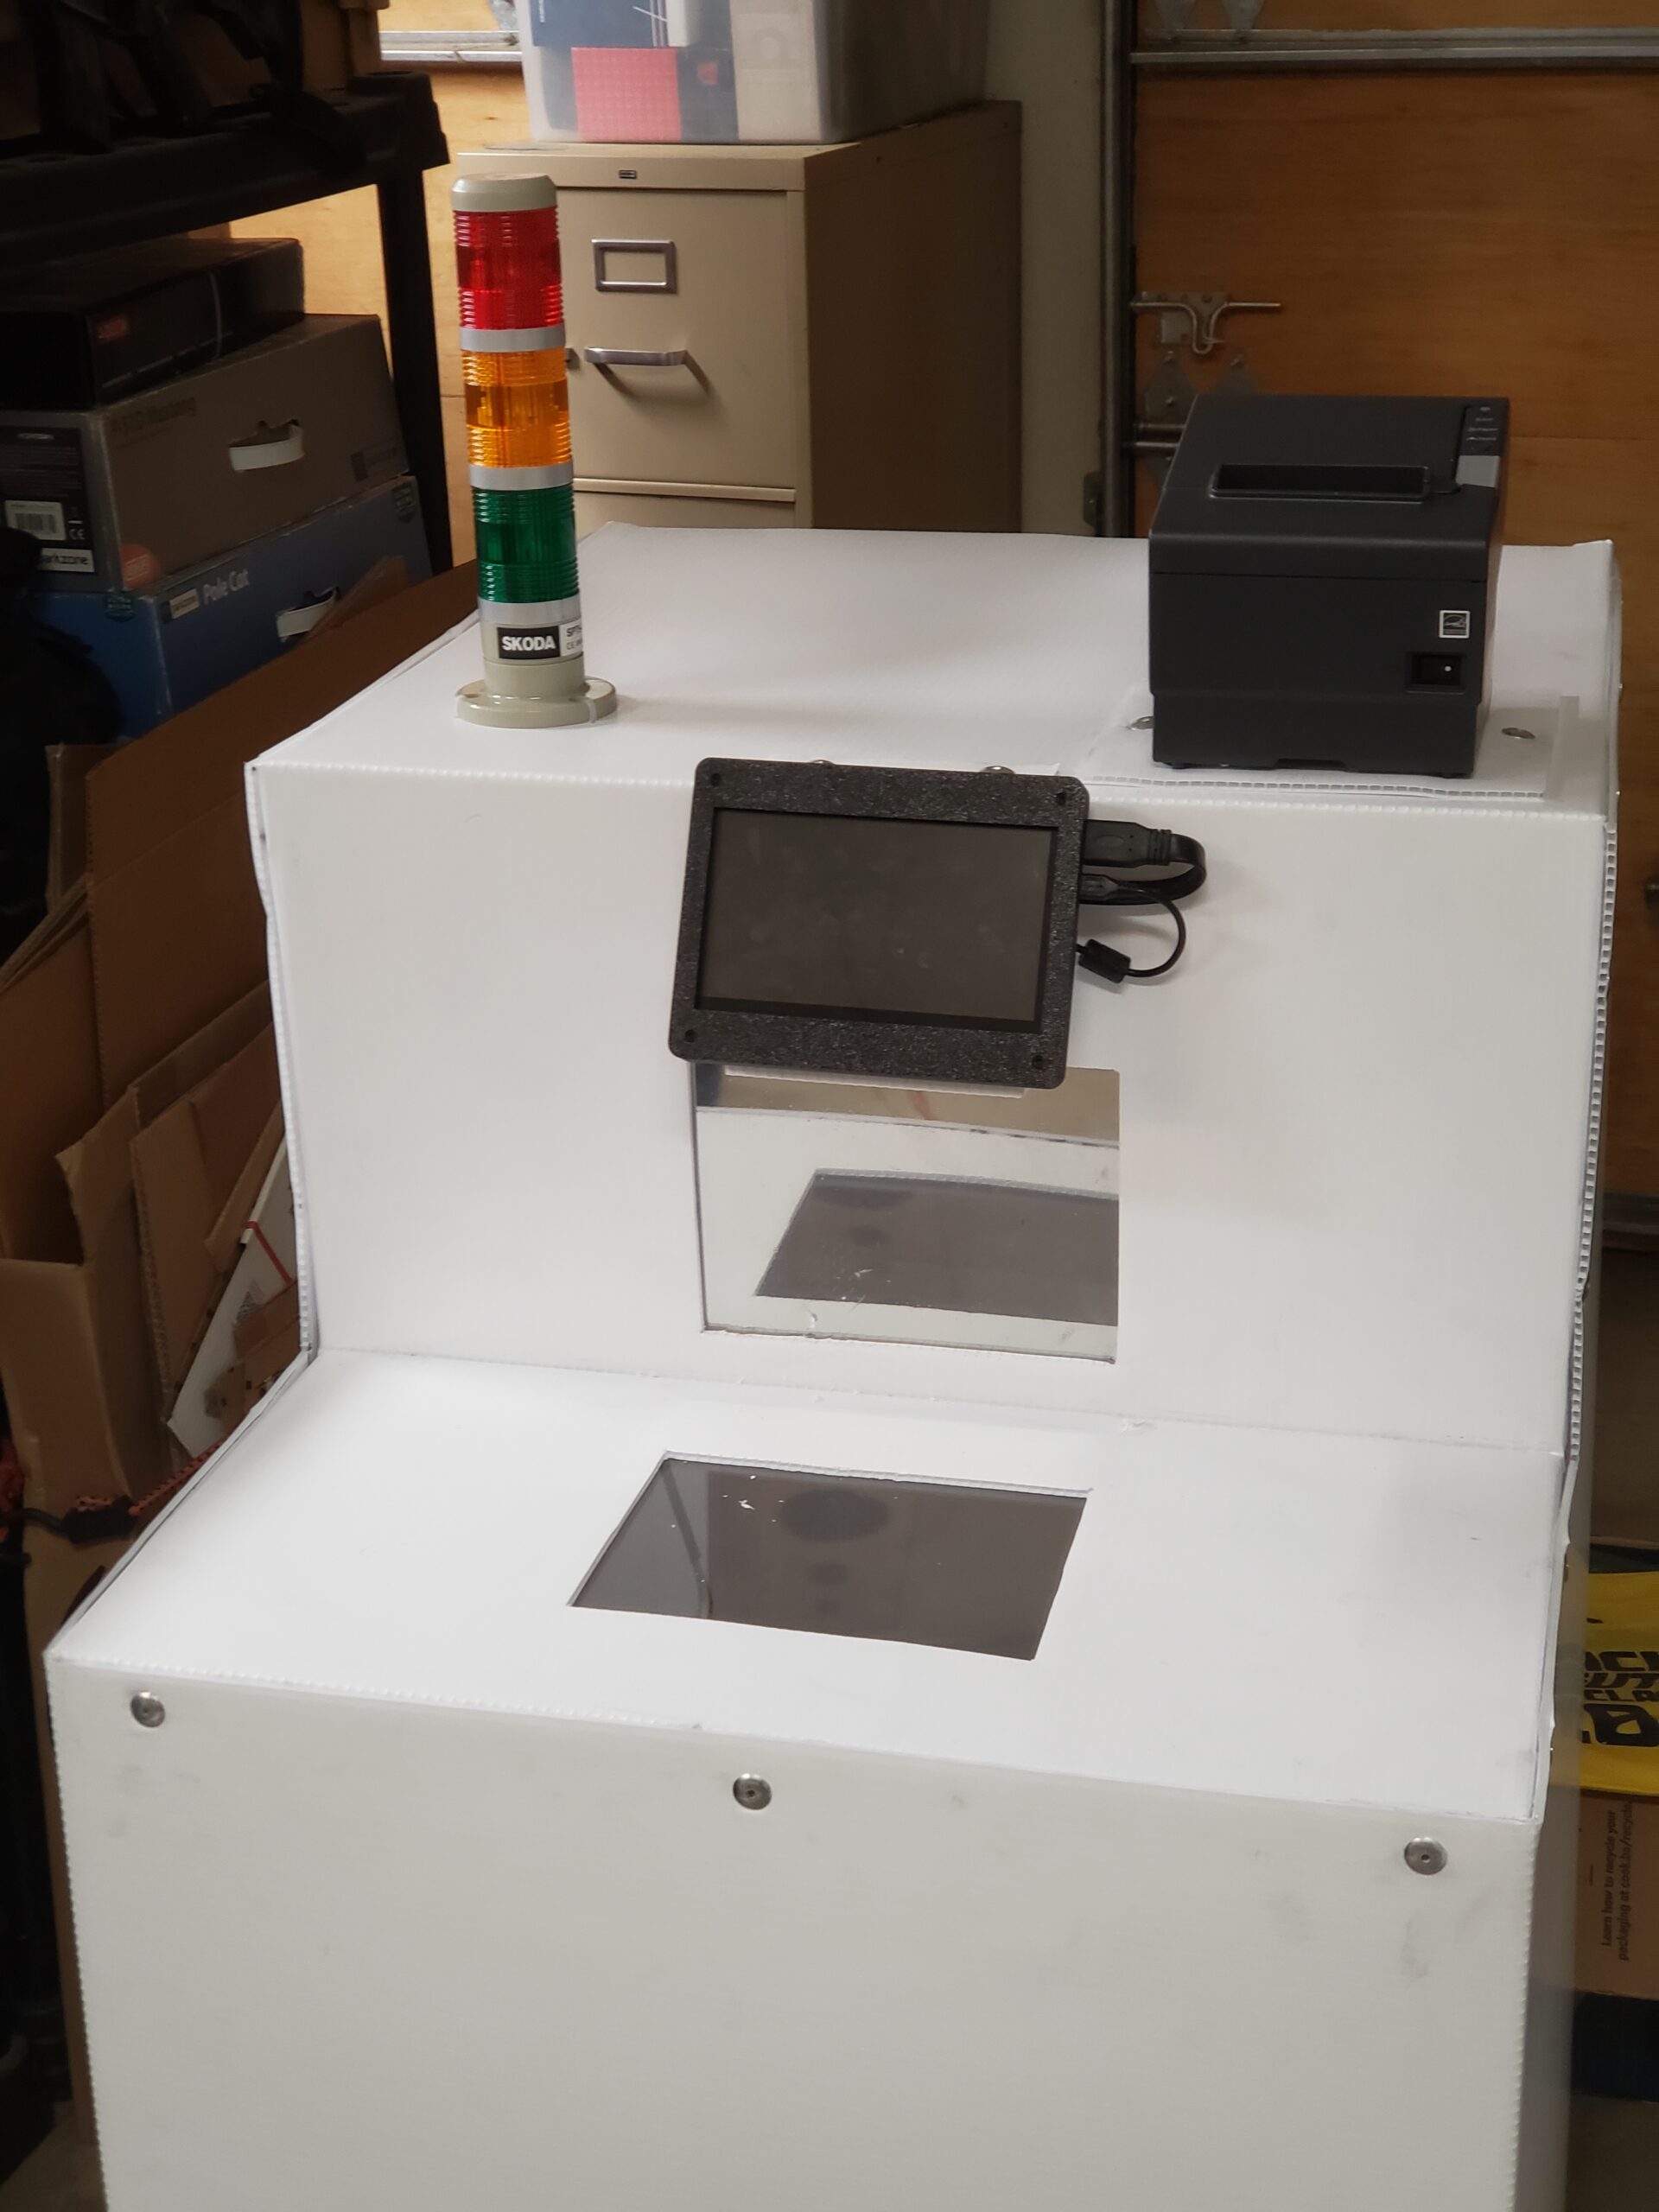
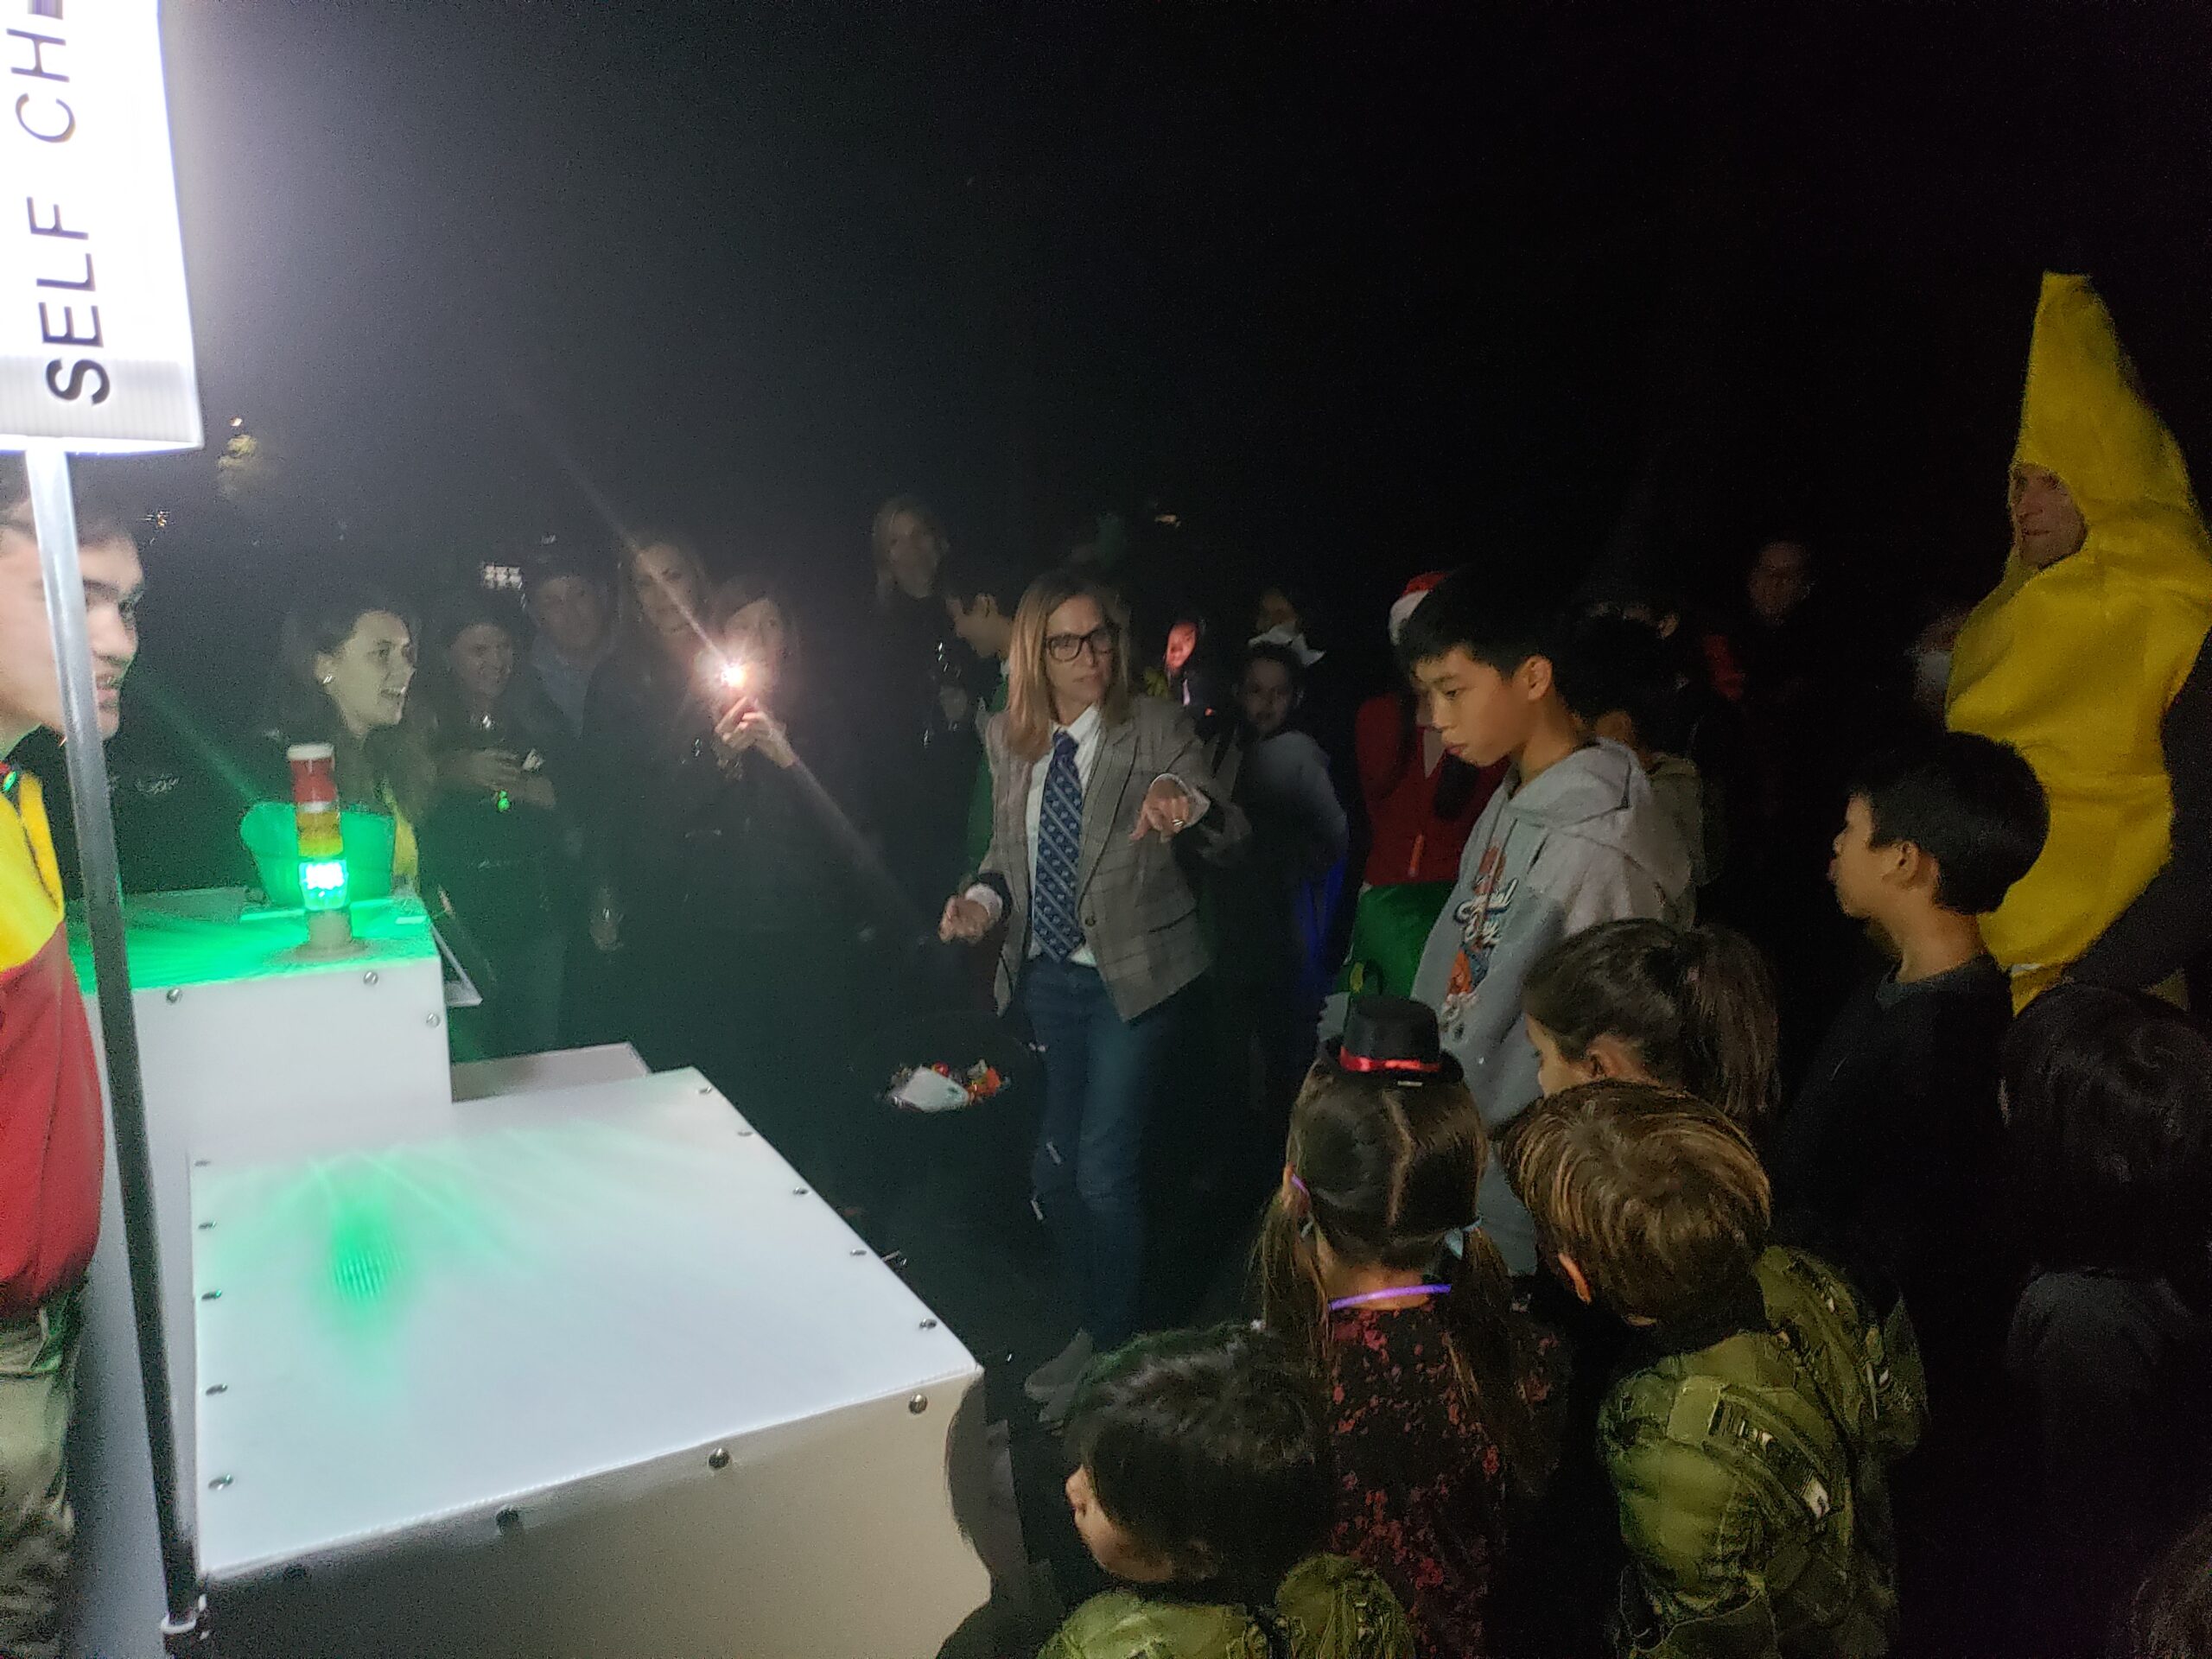
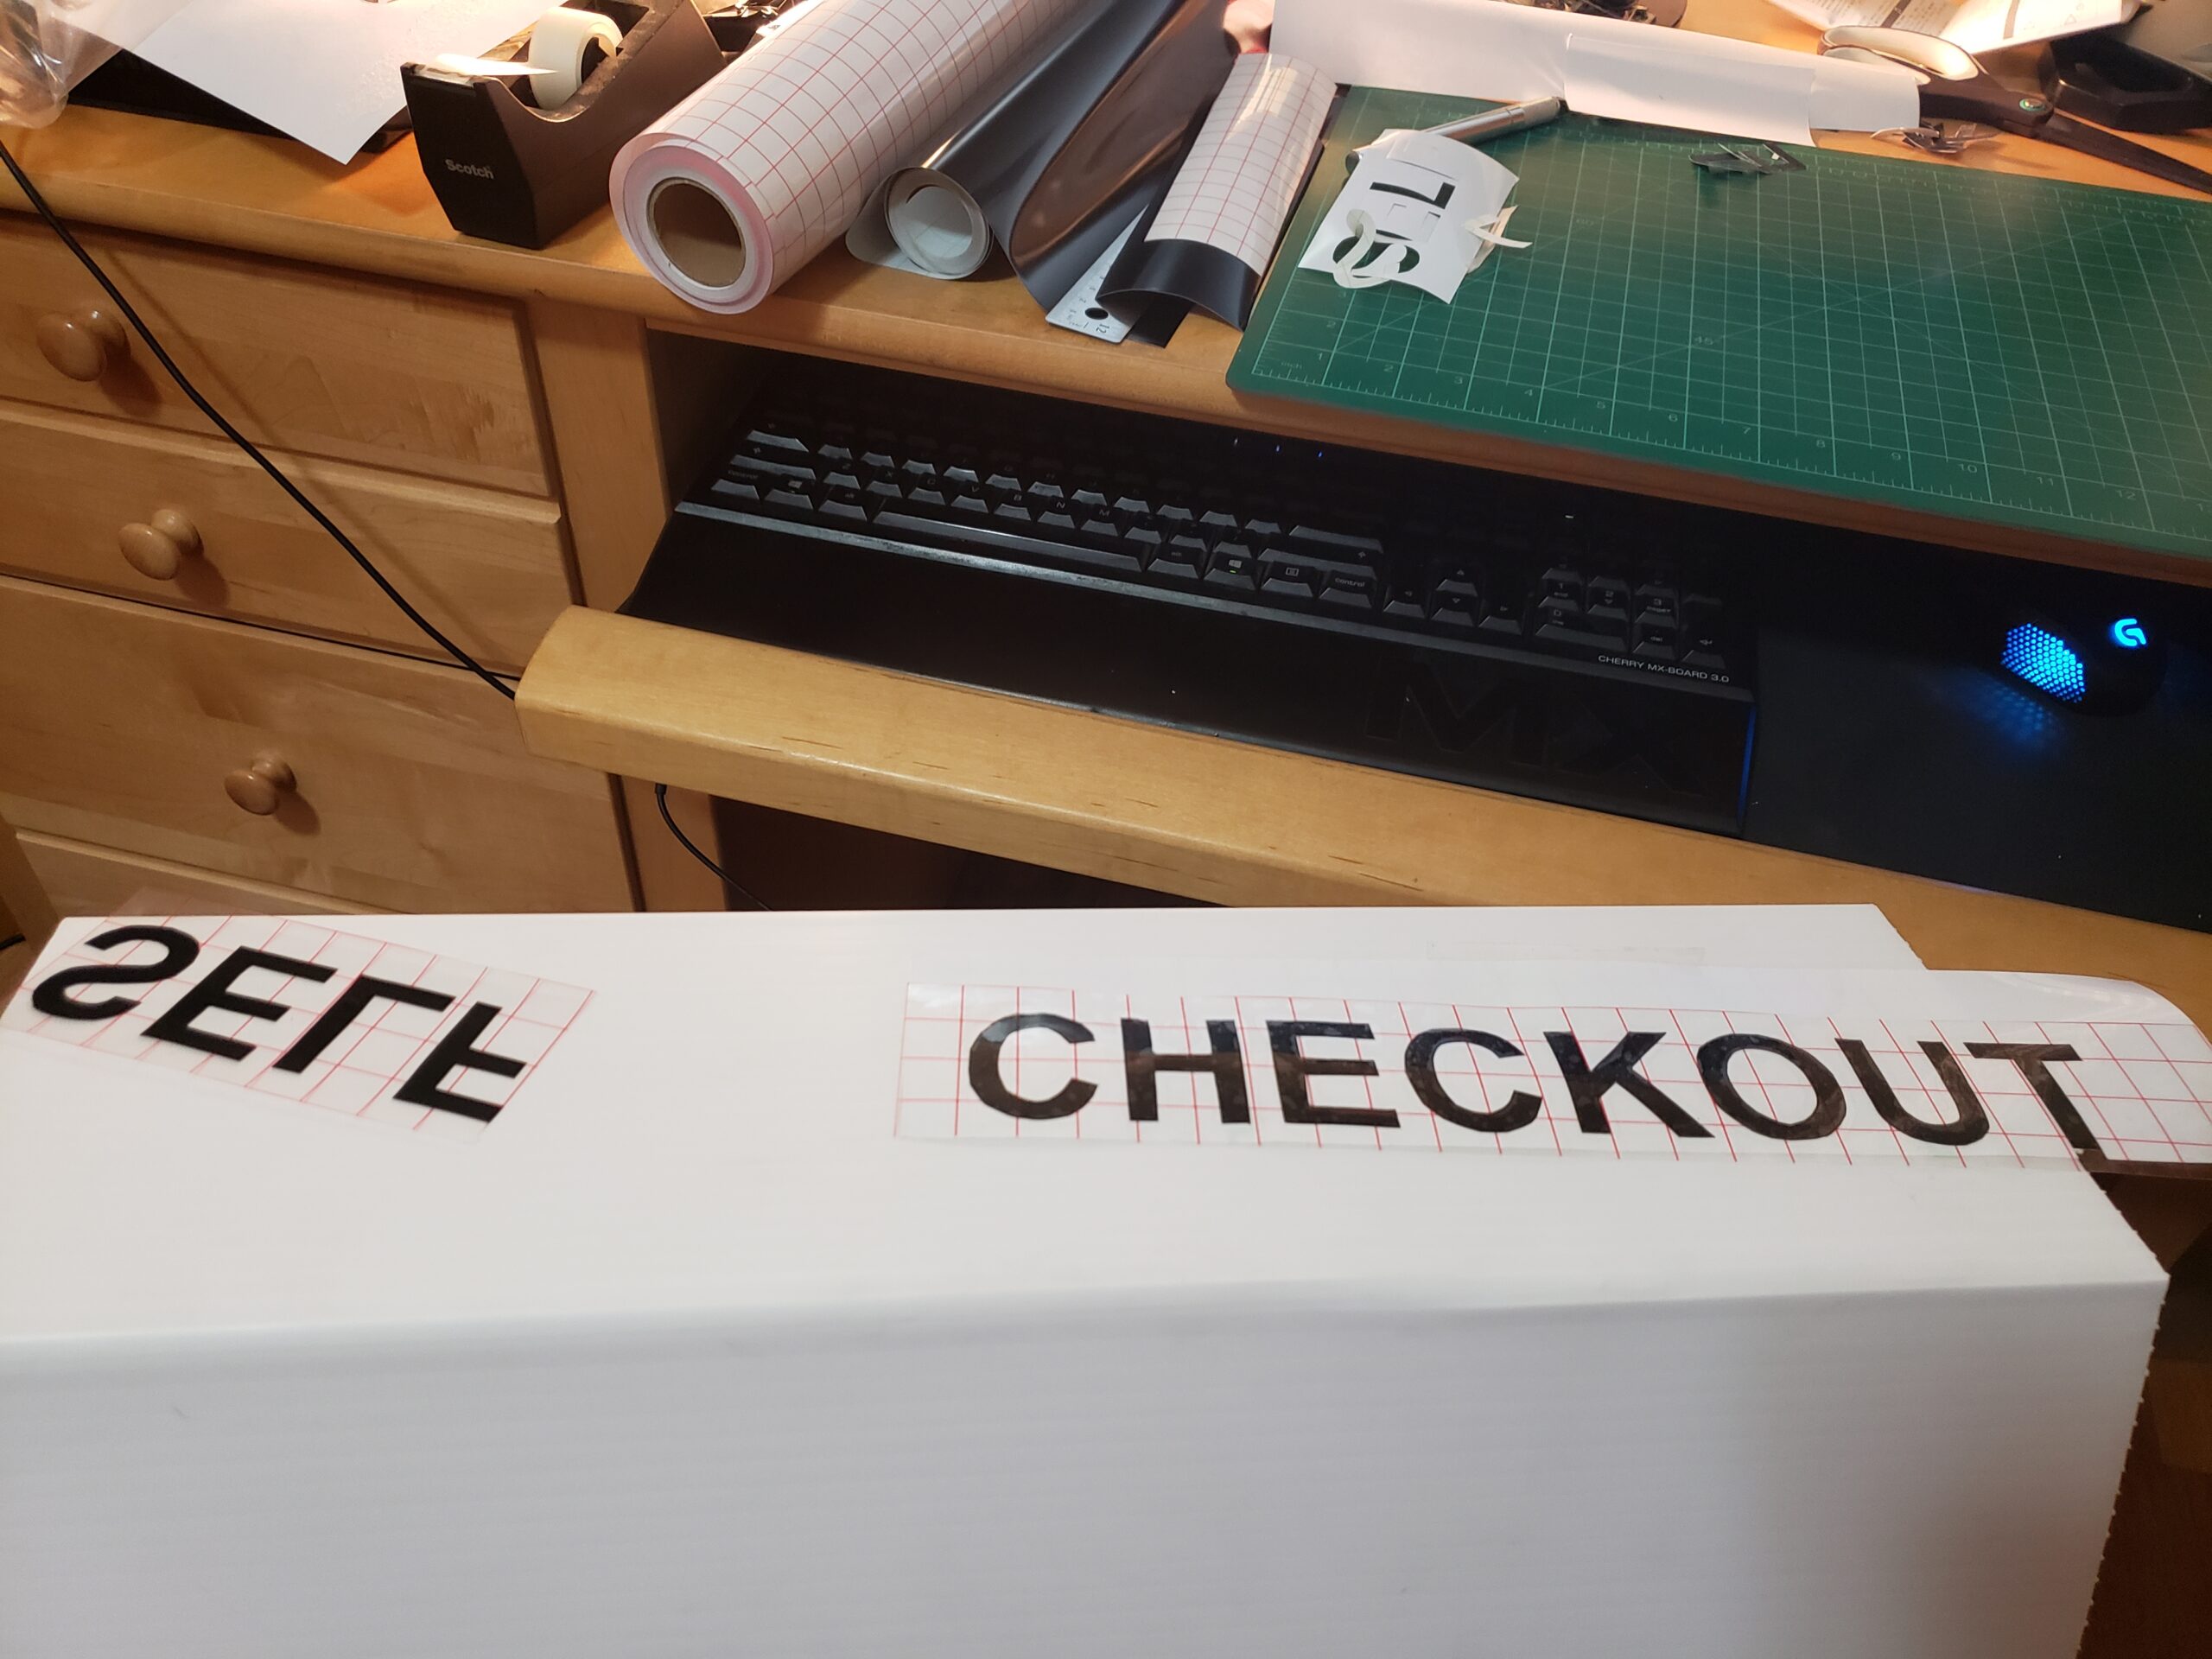
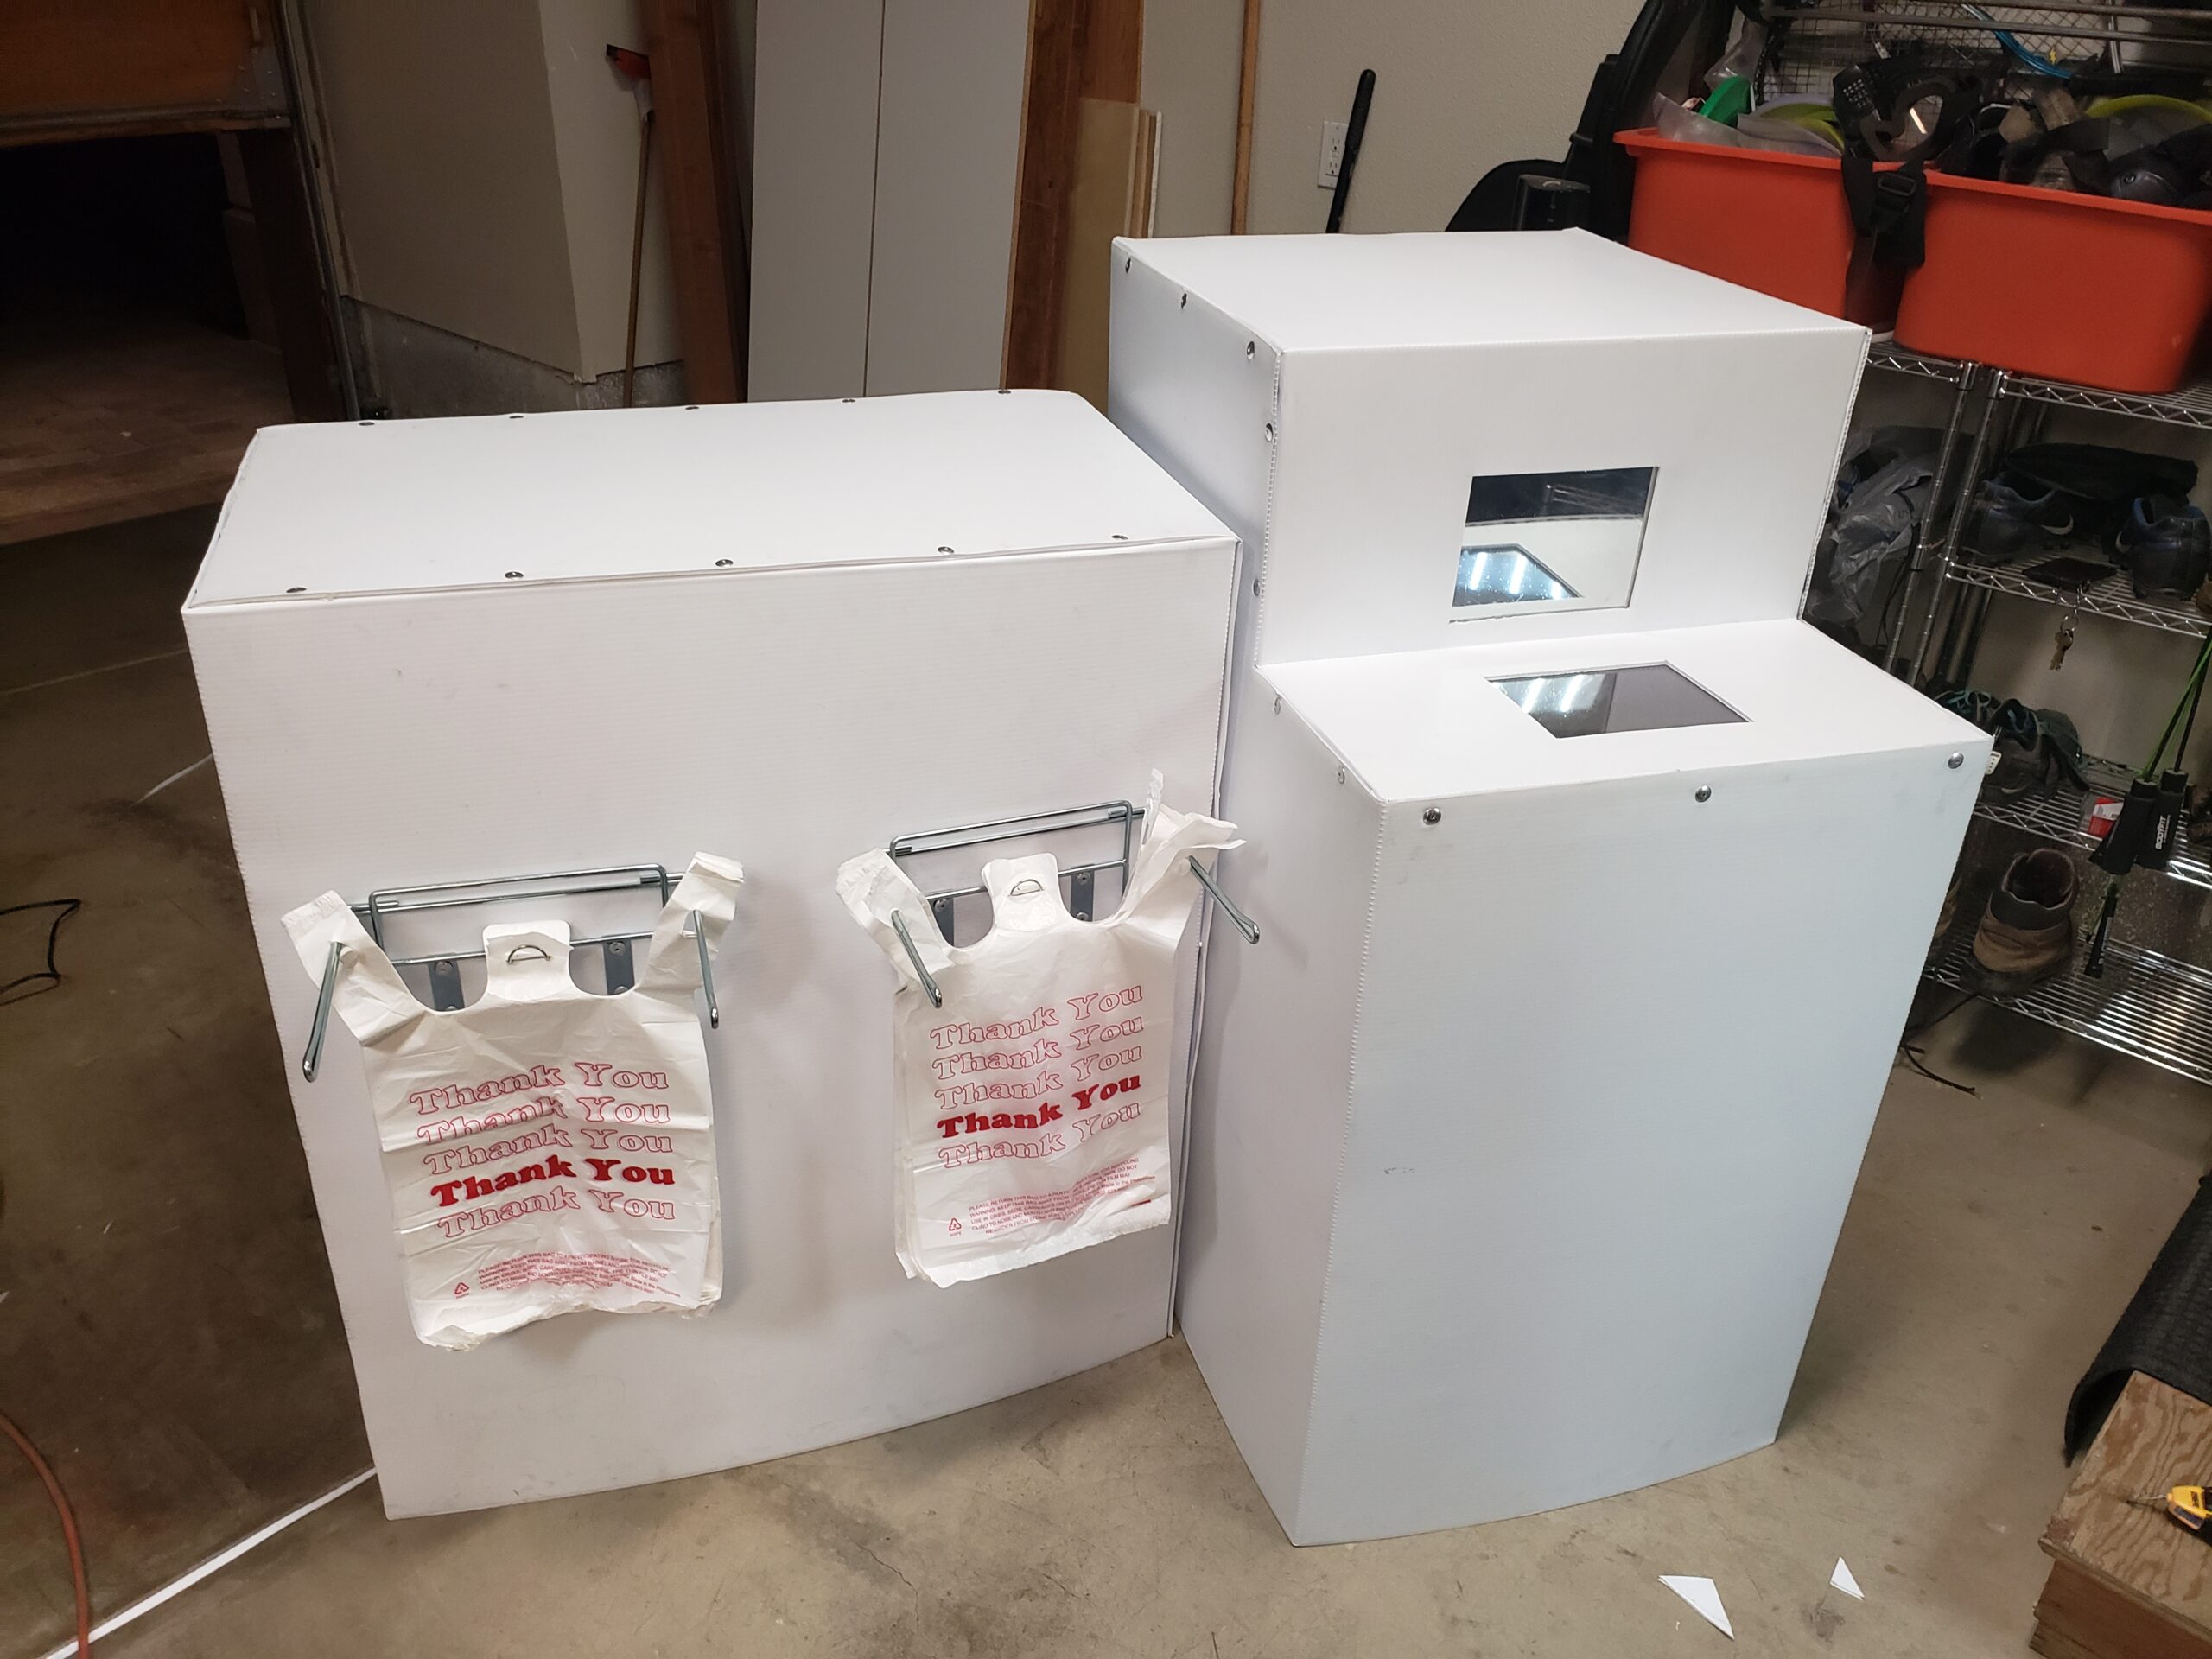
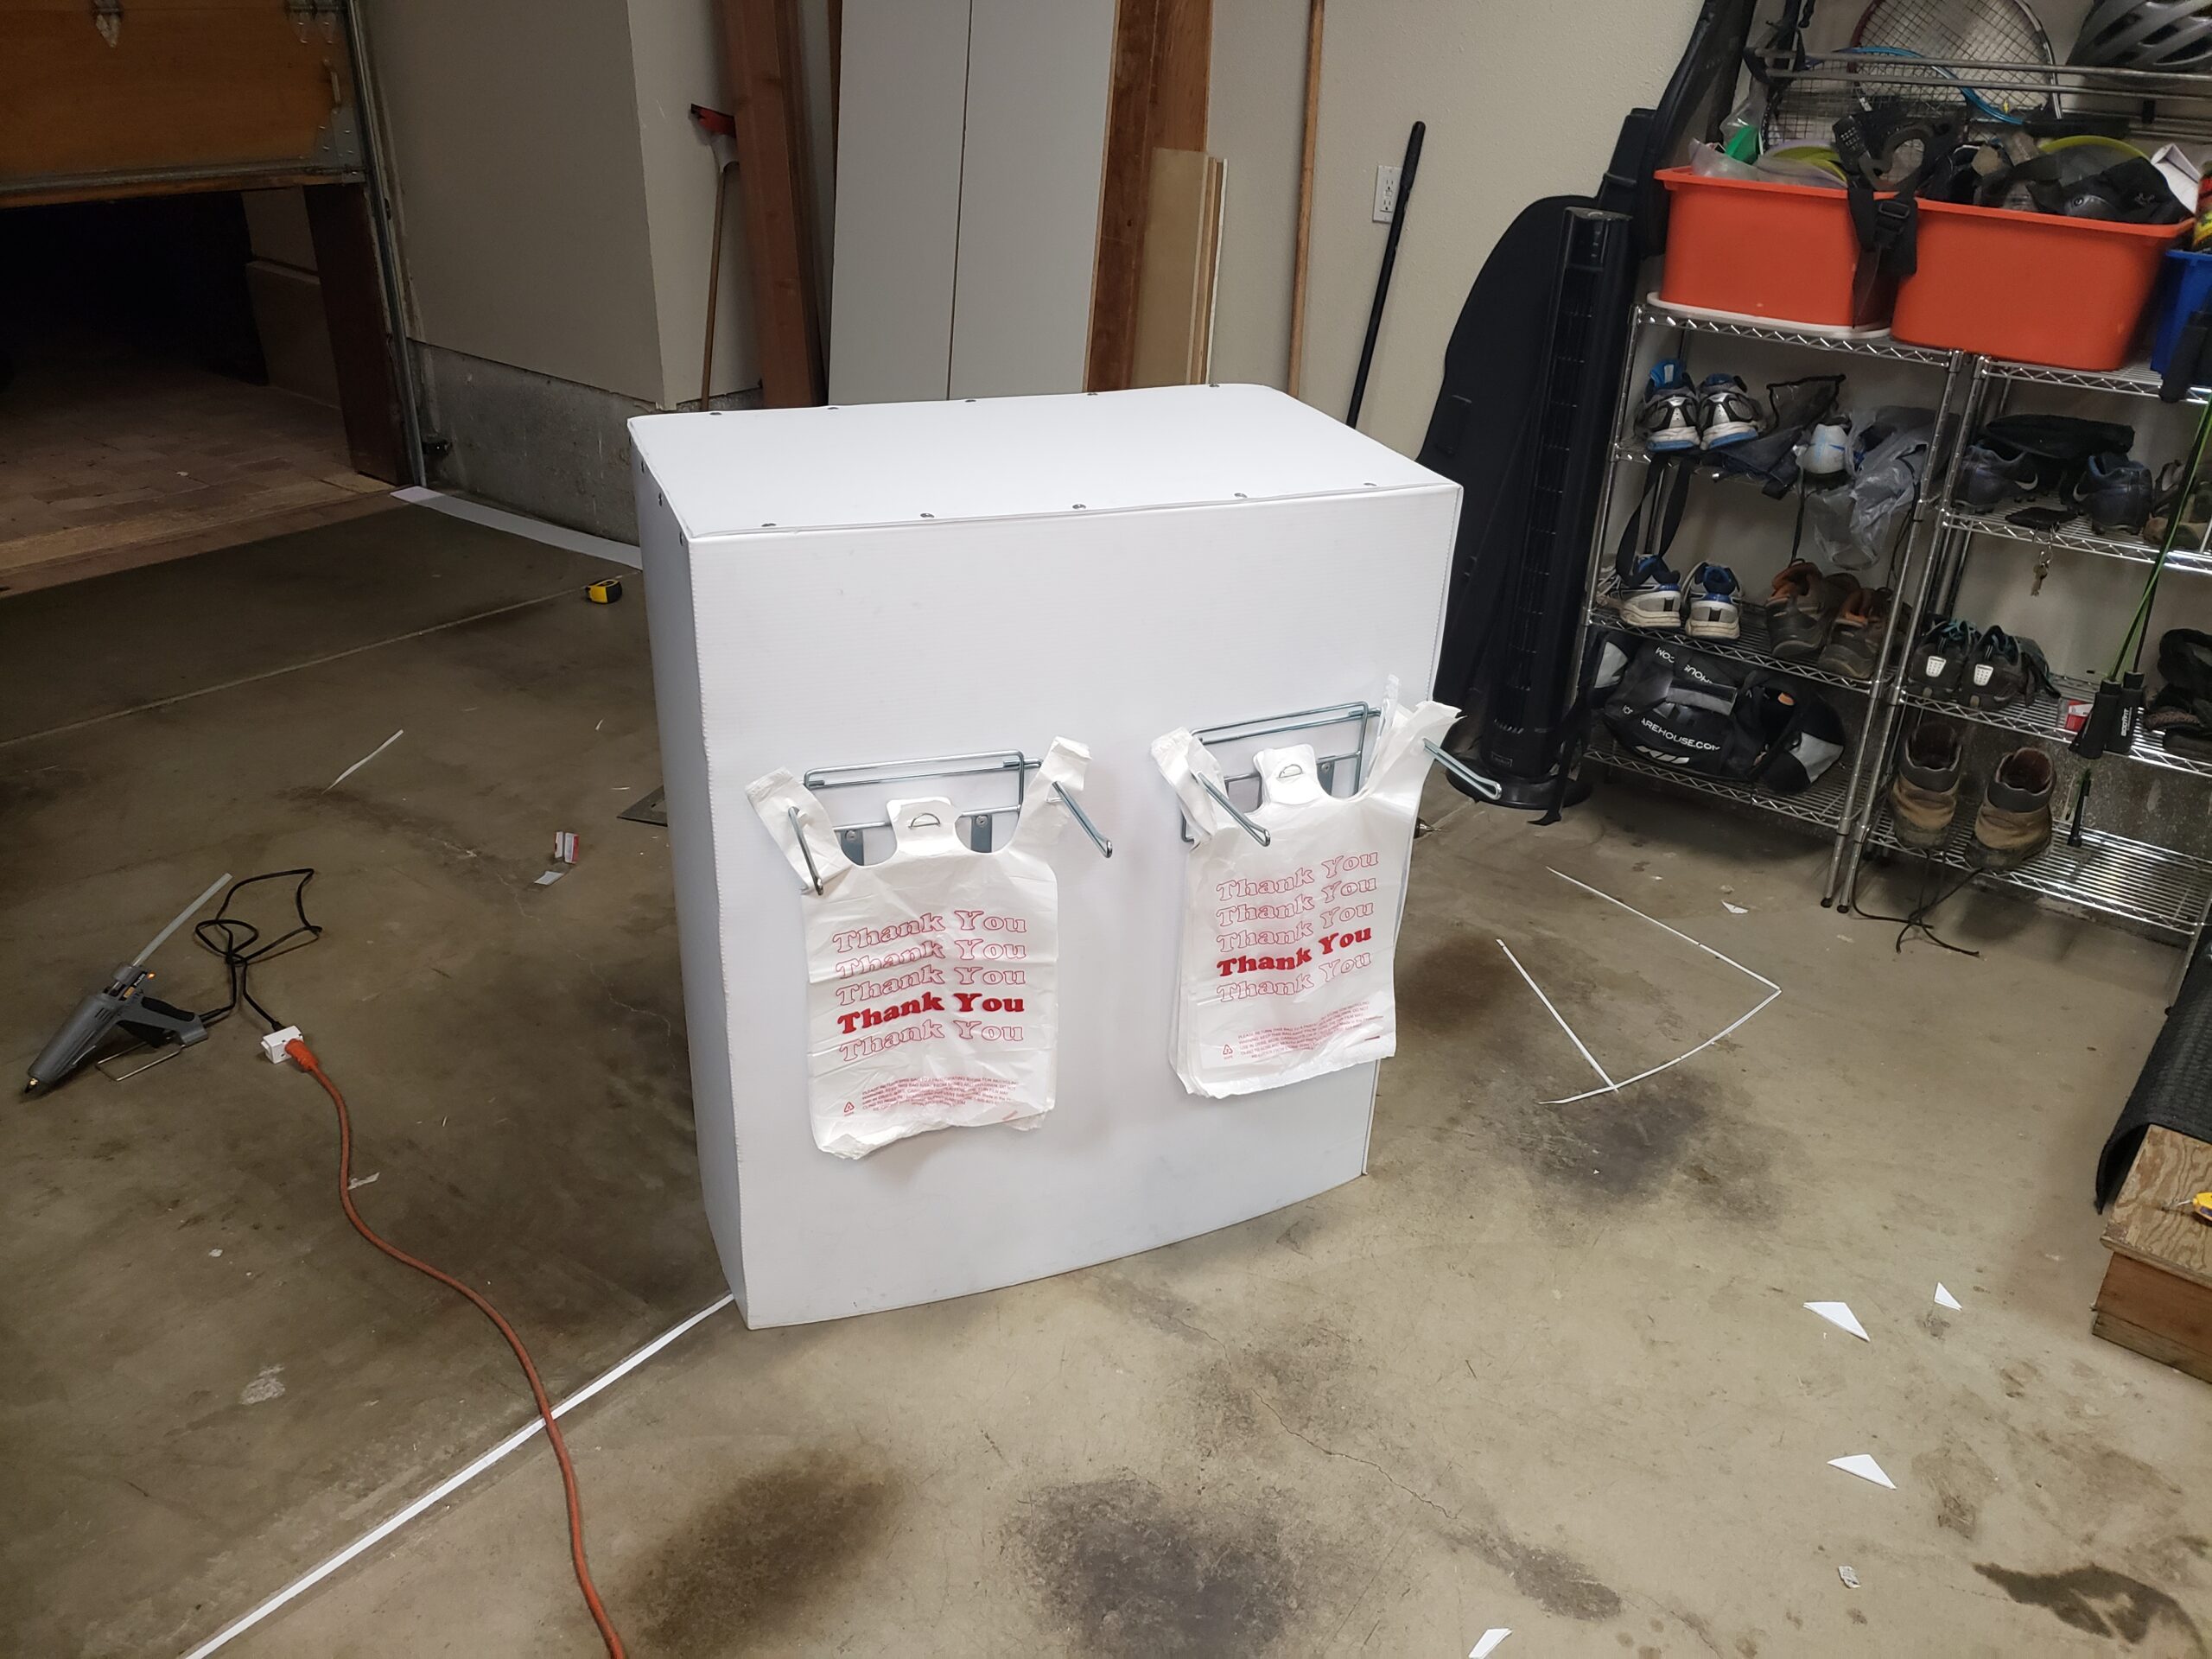
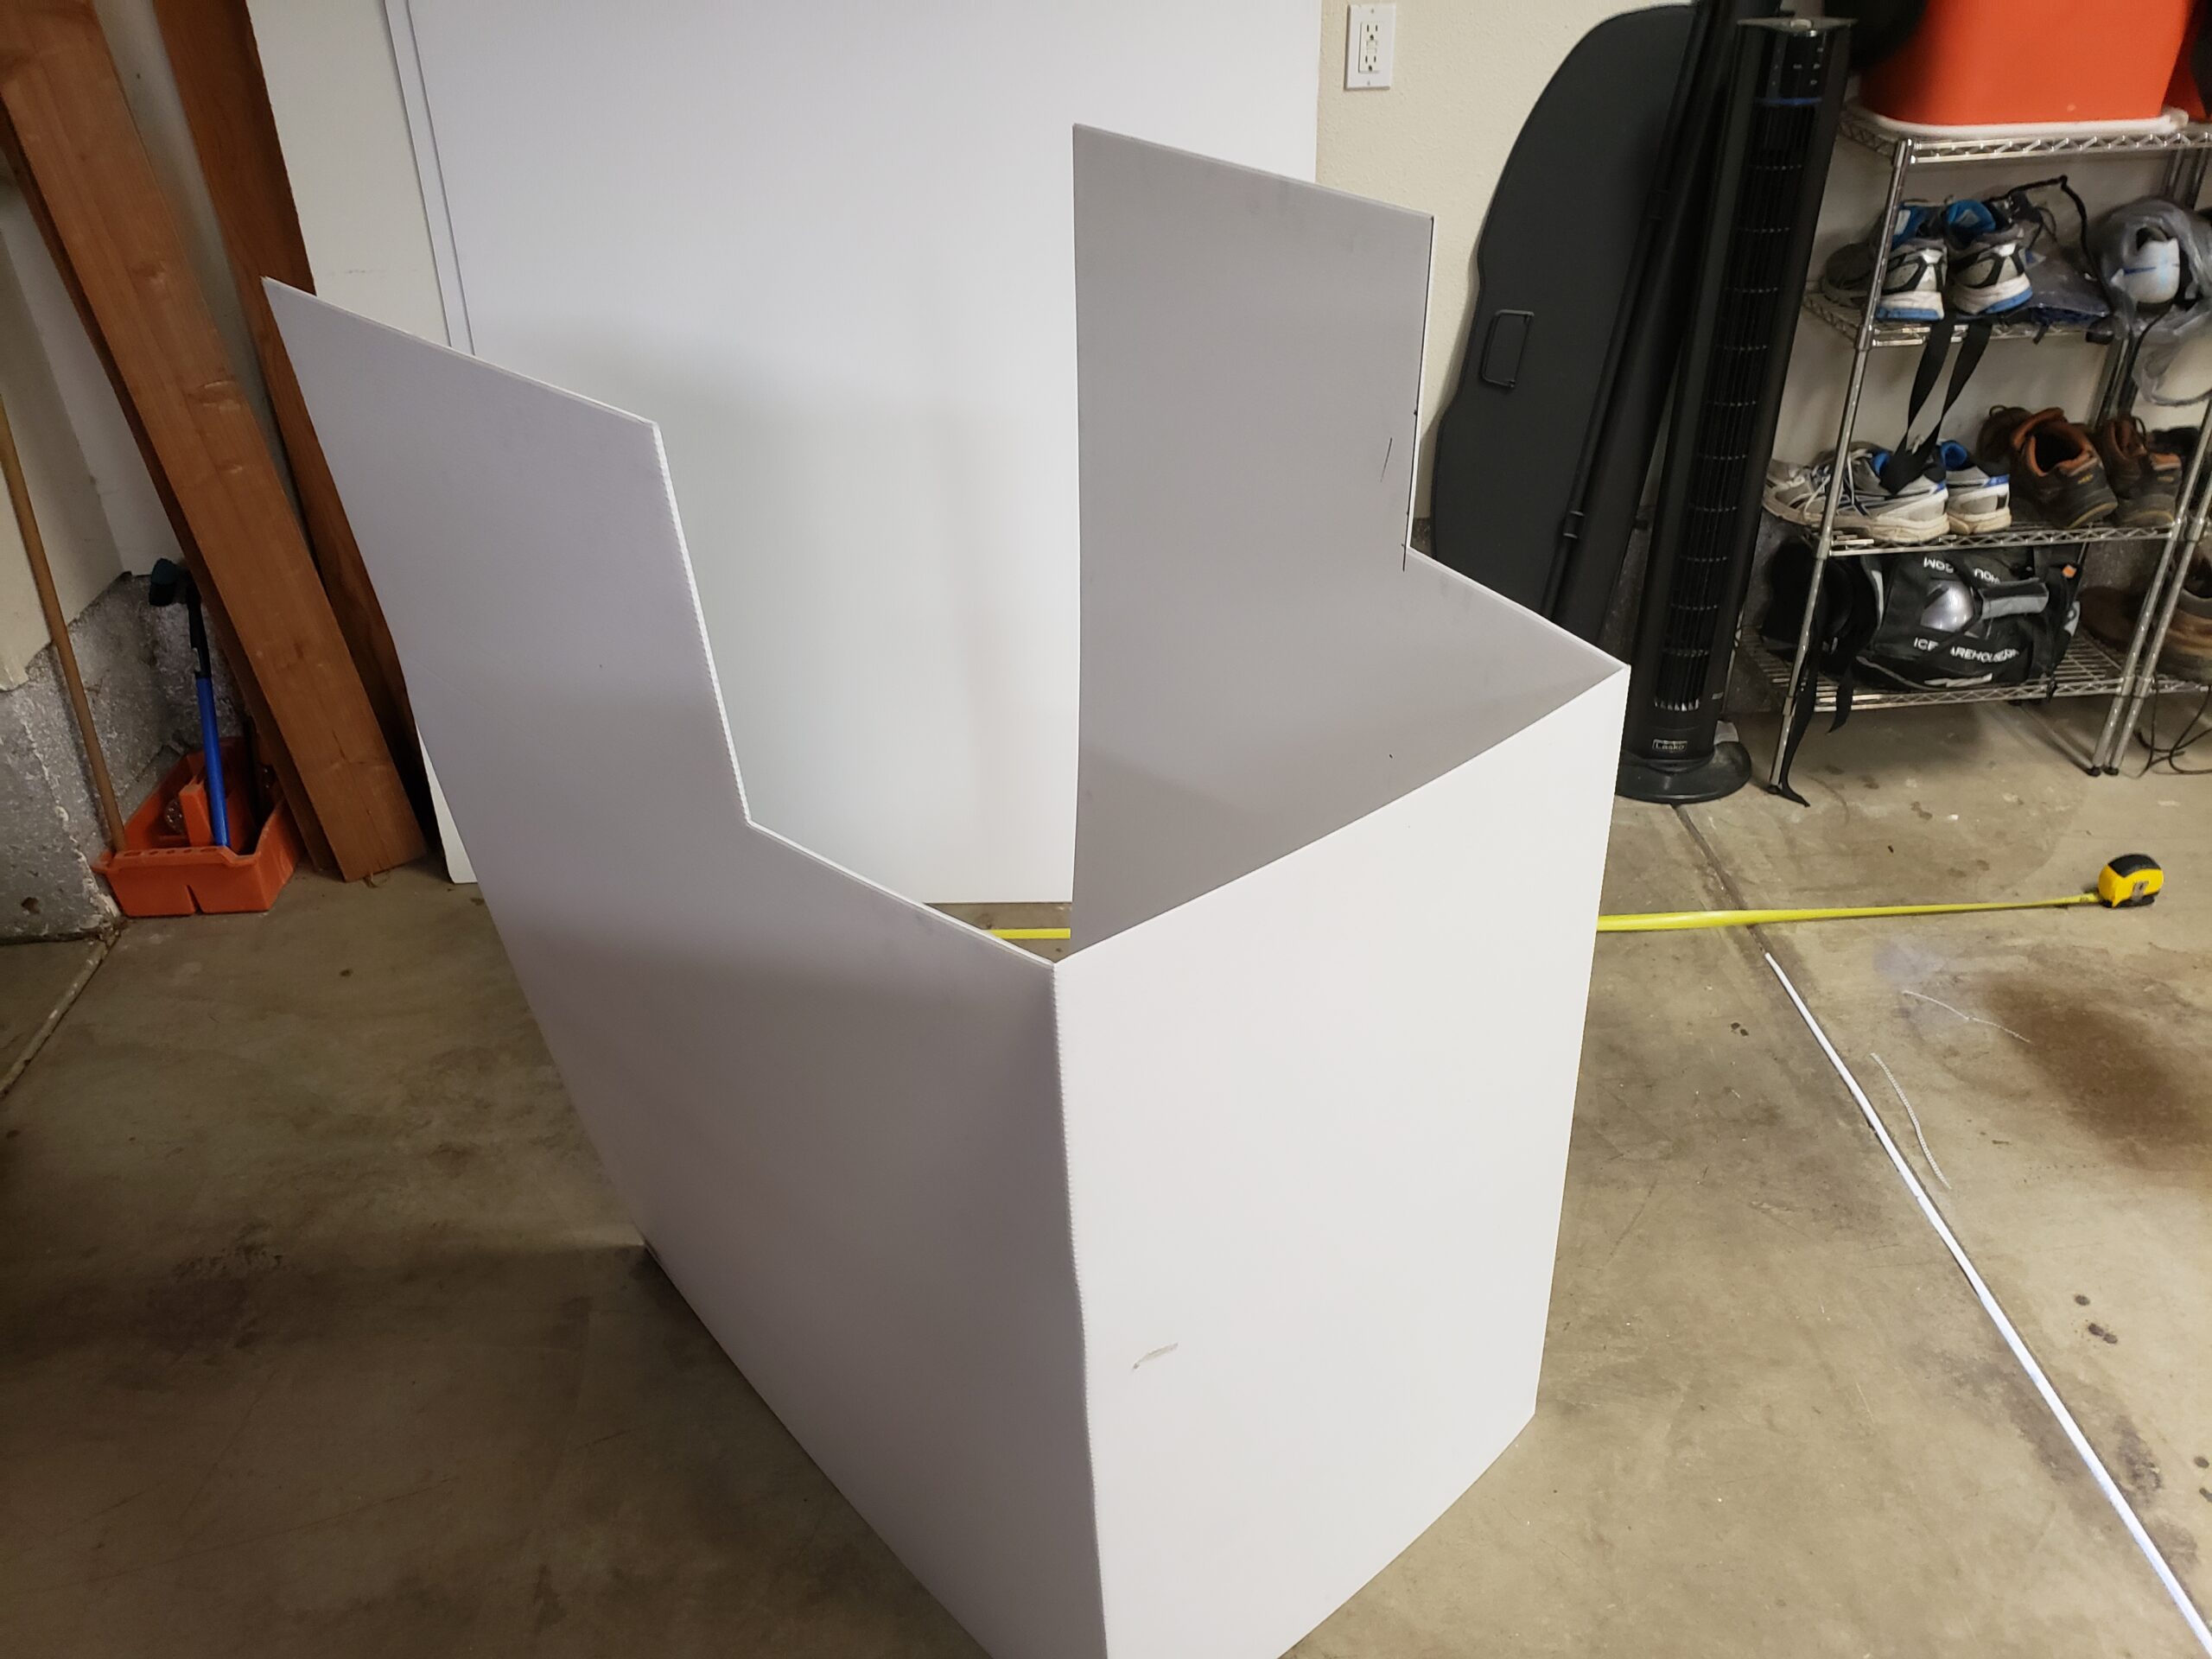
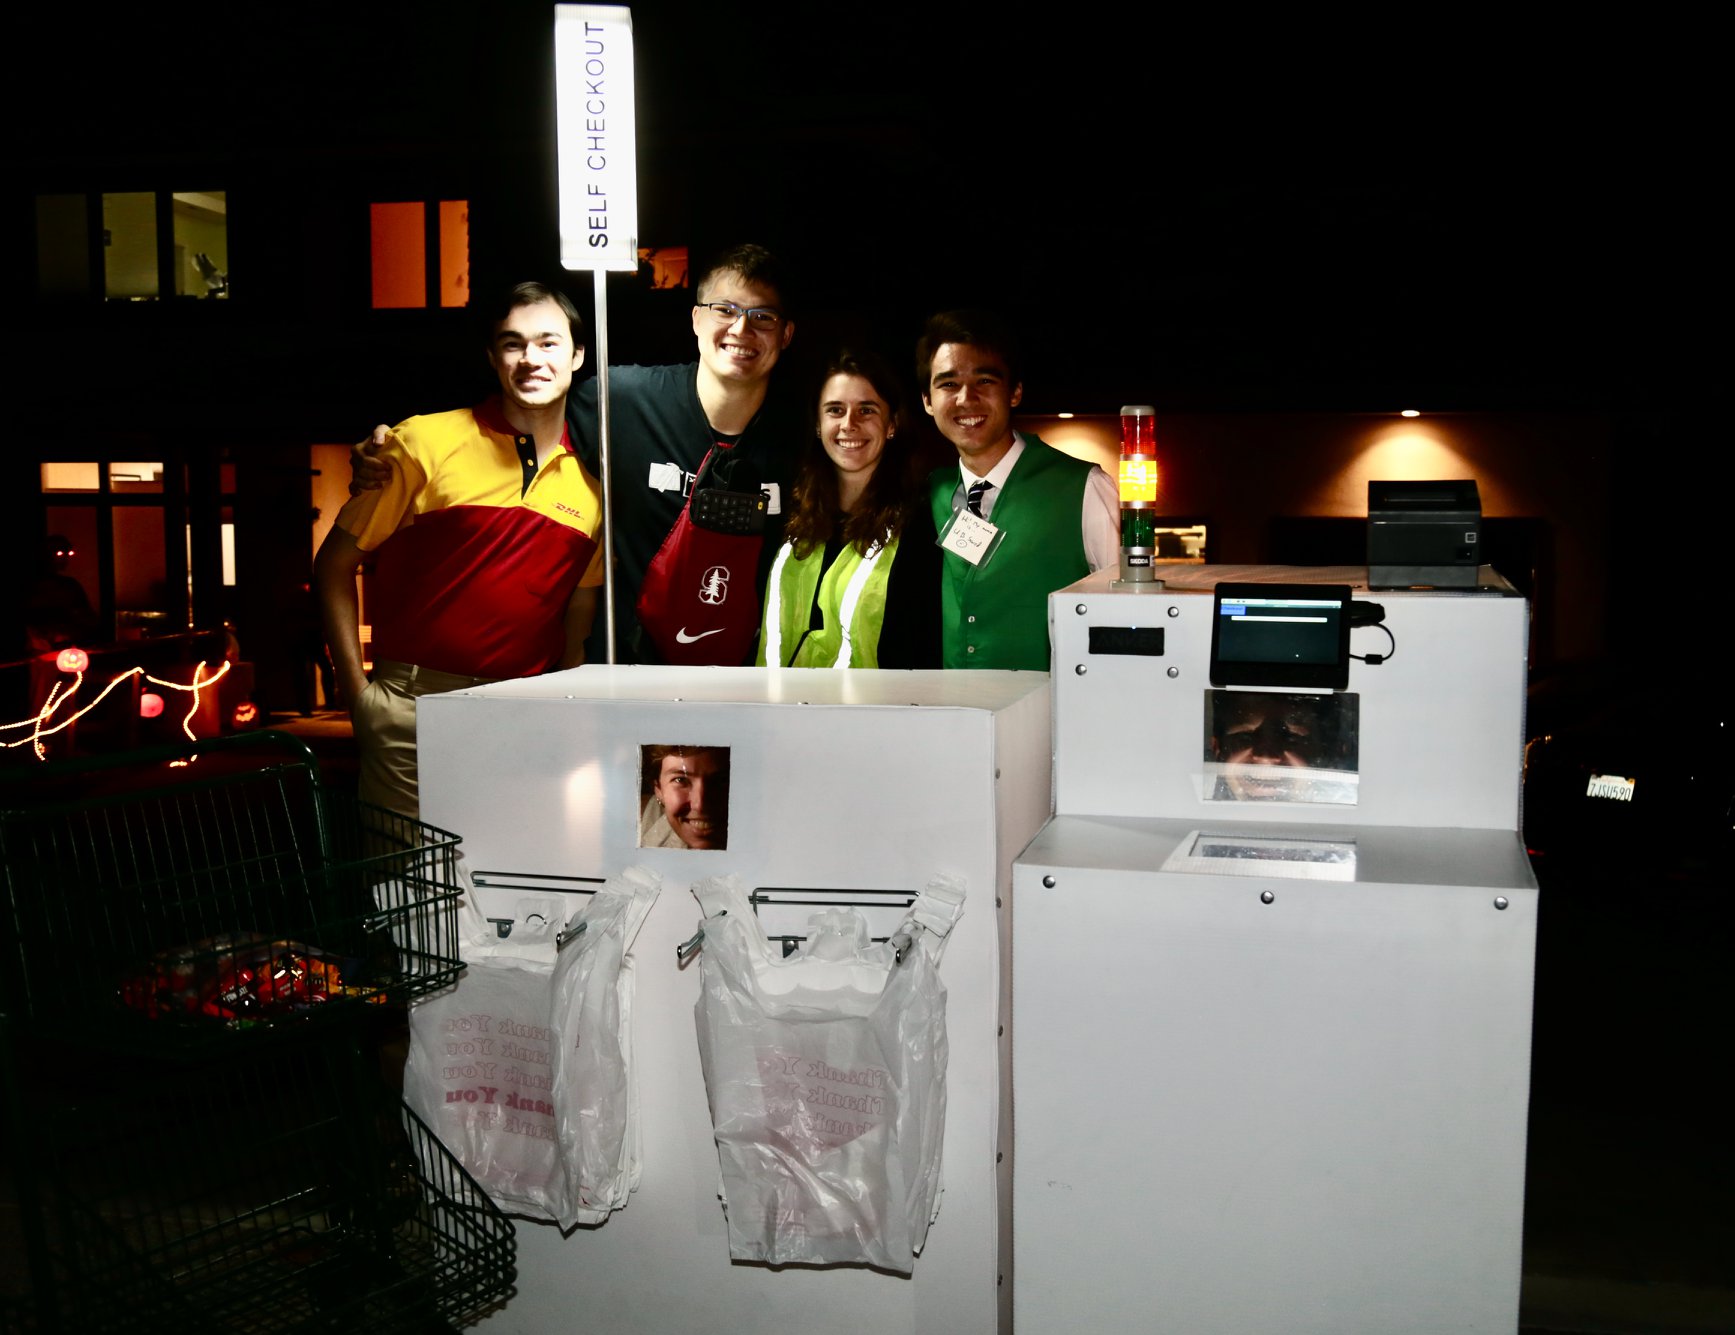
The costume consists of two boxes shaped from Coroplast: a “checkout stand” block and a “bagging area” block. The bagging area is a simple box with an LED illuminated “Self Checkout” sign on top, and some plastic bags with corresponding plastic bag hangers. Above the plastic bag hangers, there is a plexiglass window with one-way mirror tint allowing the wearer to see outside the costume. The checkout stand has the meat of the system inside it, with the Raspberry Pi, electronics, touchscreen, receipt printer, barcode scanner, speaker, and stack light attached to its inside, front, and top. There are two one-way mirror plexiglass panels on the self-checkout stand, allowing the wearer to see out the costume and the USB barcode scanner to read items that are swiped over it.
The checkout stand can be interacted with from the touchscreen or by scanning barcodes on the scanner. Additional controls are available to the wearer of the costume or a nearby operator via a wireless USB keyboard. Keys on the keyboard are bound to various voice lines and actions, allowing scans to be faked and costume actions / voice lines to be commanded.
Now for the software!
The system is hacked together around a Raspberry Pi, since I figured that was the easiest way to run a complex multithreaded state machine that would also deal with USB devices and audio files. Everything is written in Python, with different threads that take care of flashing the lights, running the USB scanner and printer, drawing the GUI on the screen, and running the checkout stand’s internal state machine that allows users to checkout and print their receipt.
The GUI is made in Pygame, allowing easy capture of user touchscreen events, playing of sound clips, and drawing of on-screen text and buttons. The blissful part of this project was making every part of the GUI aggressively terrible, just like the real thing. I swear that once when I was in Safeway, I had to have an attendant enter their passcode to unjam the uncooperative kiosk I was using, and the kiosk cheerfully stated every number of their passcode out loud, just like it was a quantity of produce or a price. I happily included this helpful feature, among others, in my own rendition of the self checkout nightmare.
The sound files for the text-to-speech were painstakingly recorded and clipped from an online text-to-speech website that I found which had a voice that was pretty similar to what I had heard in grocery stores. I typed out every necessary number and digit combination, as well as the primary voice lines (“unexpected item in bagging area”), recorded them on my browser, then spent hours cutting them down to size using Audacity. With a bit of tweaking, they turned out all right (or at least, as terrible as the real thing)!
There is a random number generator buried in the state machine, and every additional item that a user scans in to their cart carries a small chance of entering the terrible “unexpected item in bagging area” loop. This feature really seemed to be most enjoyed by the parents we encountered on Halloween night. There were some other easter eggs that we enjoyed using to startle and delight various children throughout the night as well…
And here’s the rest of it! Was a very fun costume to build and play around with on Halloween with friends. 12/10 would recommend. All of the code is fully open source, and if anyone else would ever like to build a similar abomination, I would be more than happy to assist with design files and advice.